
I used to store my files on Google Drive and download them using the wget command.
Until one day, Google made a small update, and suddenly, the original download command no longer worked...
Very frustrating.
Since that's the case, I decided to try Nextcloud. Here’s how I set it up on Ubuntu 22.04.
Before you begin, make sure you have a domain name and point it to your server.
If you're unsure how to do this, just ask ChatGPT, and it will guide you through the process.
Installing Nextcloud
First Question: Why use Nextcloud?
- I want a private cloud and don’t want to store my files on someone else's server.
Second Question: What’s the difference between Nextcloud and Owncloud?
- Nextcloud was forked from Owncloud by its original developers. The functionalities are quite similar, but Nextcloud develops faster.
Third Question: How do you install Nextcloud?
- This is a bit more complicated because there are many installation methods, each with its pros and cons.
- In this article, the only installation method I recommend is using Docker.
Setting Up Nextcloud All-in-One
- Refer to the official documentation: Nextcloud All-in-One
First, make sure you have Docker and Docker Compose installed.
Next, create a directory for Nextcloud and write a docker-compose.yml configuration file:
mkdir nextcloud
vim nextcloud/docker-compose.yml
Copy the following content into the docker-compose.yml:
services:
  nextcloud-aio-mastercontainer:
    image: nextcloud/all-in-one:latest  # Specify the Docker container image to use
    init: true  # Prevent zombie processes; keep this option
    restart: always  # Set the container restart policy to auto-restart with Docker daemon
    container_name: nextcloud-aio-mastercontainer  # Set the container name; do not change to avoid update issues
    volumes:
      - nextcloud_aio_mastercontainer:/mnt/docker-aio-config  # Storage location for mastercontainer; this setting cannot be changed
      - /var/run/docker.sock:/var/run/docker.sock:ro  # Mount Docker socket to control other containers and functionalities; adjust for Windows/macOS or rootless mode
    ports:
      - 80:80    # For obtaining valid certificates via the AIO interface, optional
      - 8080:8080  # Default AIO interface (self-signed certificate); if port 8080 on host is occupied, change it (e.g., 8081:8080)
      - 8443:8443  # For accessing the AIO interface and obtaining valid certificates; optional

volumes:
  nextcloud_aio_mastercontainer:
    name: nextcloud_aio_mastercontainer  # Docker volume name; this setting cannot be changed
For more detailed settings, refer to the official documentation: compose.yaml
Configuring System Services
After completing the above settings, configure the system service.
sudo vim /etc/systemd/system/nextcloud.service
Paste the following content:
[Unit]
Description=NextCloud Docker Compose
Requires=docker.service
After=docker.service

[Service]
WorkingDirectory=/home/[YourName]/nextcloud
ExecStart=/usr/bin/docker compose up --remove-orphans
ExecStop=/usr/bin/docker compose down
Restart=always

[Install]
WantedBy=multi-user.target
Make sure to replace [YourName] with your actual username.
Starting Nextcloud
sudo systemctl enable nextcloud
sudo systemctl start nextcloud
Setting Up Nextcloud
-
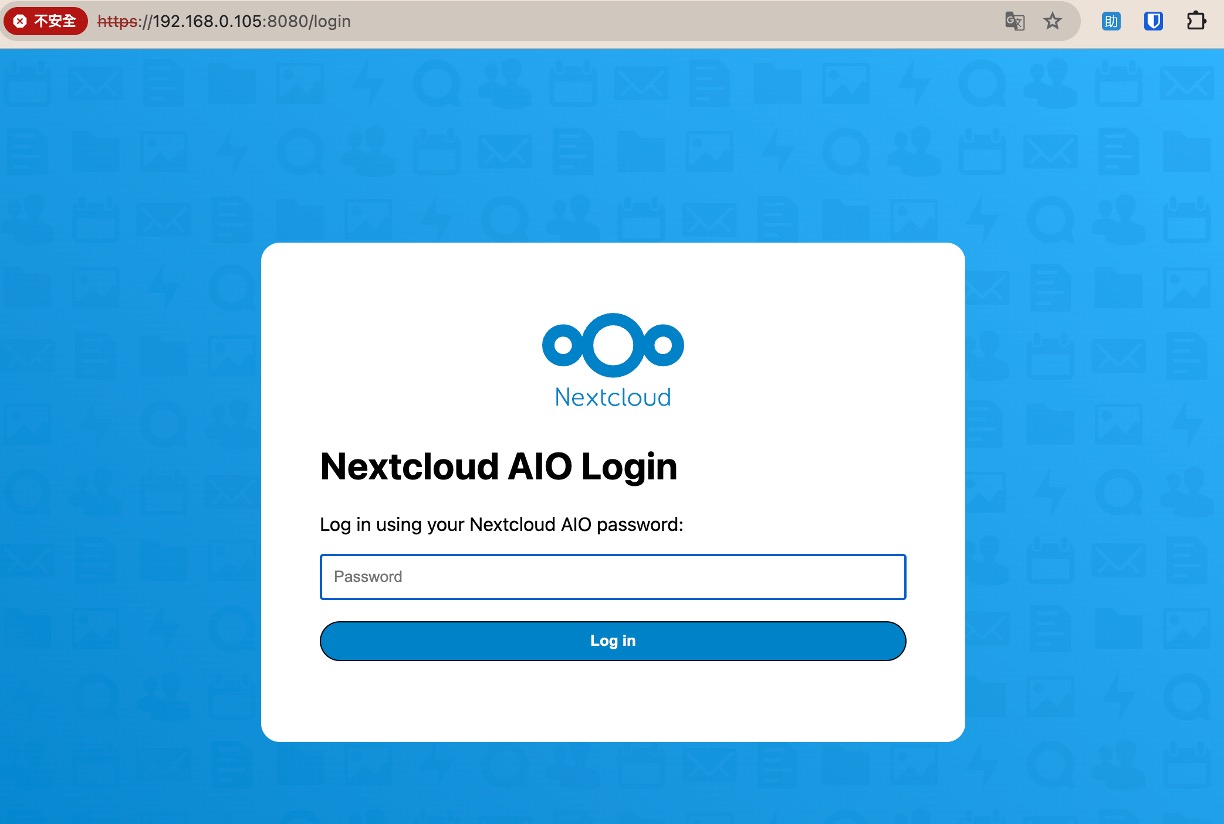
Access the Nextcloud AIO Interface:
After the initial startup, visit
https://ip.address.of.this.server:8080to access the Nextcloud AIO interface, replacingip.address.of.this.serverwith your server’s IP address. Ensure Docker and Nextcloud AIO are correctly installed and running; the first startup may take a few minutes.It's recommended to access the 8080 port using the IP address instead of the domain, as HTTP Strict Transport Security (HSTS) might restrict domain access. HSTS requires the browser to connect to the site only over HTTPS.
-
Using the Self-Signed Certificate:
When accessed via port 8080, the system may use a self-signed certificate for secure communication.
Since this certificate isn’t issued by a trusted certificate authority (CA), the browser may show an untrusted warning. You’ll need to manually accept it as directed by the browser. It’s advisable to use this only in testing environments. Self-signed certificates are not suitable for production environments.
-
Automating Valid Certificate Retrieval:
If your firewall or router has opened or correctly forwarded ports 80 and 8443, and you have pointed a domain to the server, you can automatically obtain a valid certificate from a trusted CA (like Let's Encrypt) via
https://your-domain-that-points-to-this-server.tld:8443, which improves security and convenience.Make sure to replace
your-domain-that-points-to-this-server.tldwith the correct domain and ensure that DNS settings are effective, checking that the firewall allows the connection. -
Open Ports for Nextcloud Talk:
To ensure Nextcloud Talk (for video calls and messaging) works properly, you need to open ports 3478/TCP and 3478/UDP in the firewall or router for the Talk container.
If you're in a NAT environment, verify that port forwarding is correctly configured and check with your ISP to ensure they haven’t blocked these UDP ports.
Common Issues
-
Dynamic IP at Home, How to Point to Domain?
Besides using dynamic DNS solutions like No-IP, I found that directly applying for a fixed IP from Chunghwa Telecom was the fastest and most stable solution.
tipIf you're not a reader from Taiwan, you might want to ask your country's telecom provider if they offer this service.
-
I Don’t Want to Use Docker, Are There Alternatives?
Yes, you can install Nextcloud directly, but you'll have to manage all dependencies and environment configurations yourself, which can lead to many challenges.
After being stuck multiple times, I ended up going back to the Docker method, so why not use Docker from the start?
-
Why Can’t I Connect After Setup?
Check if your firewall settings allow the necessary connections. If the firewall is correctly configured, there may be issues with port forwarding on your router. It’s recommended to check Docker logs for more detailed error information.
Final Thoughts
After entering the setup URL, you’ll be greeted by a more advanced setup interface.
At this point, you may be surprised to find:
- I don’t have a password!
The system generates a password on first login, but you may have overlooked it.
If you forgot it, don’t worry, you can query it with the following command:
sudo grep password /var/lib/docker/volumes/nextcloud_aio_mastercontainer/_data/data/configuration.json
After logging in, you will see the following setup screen:
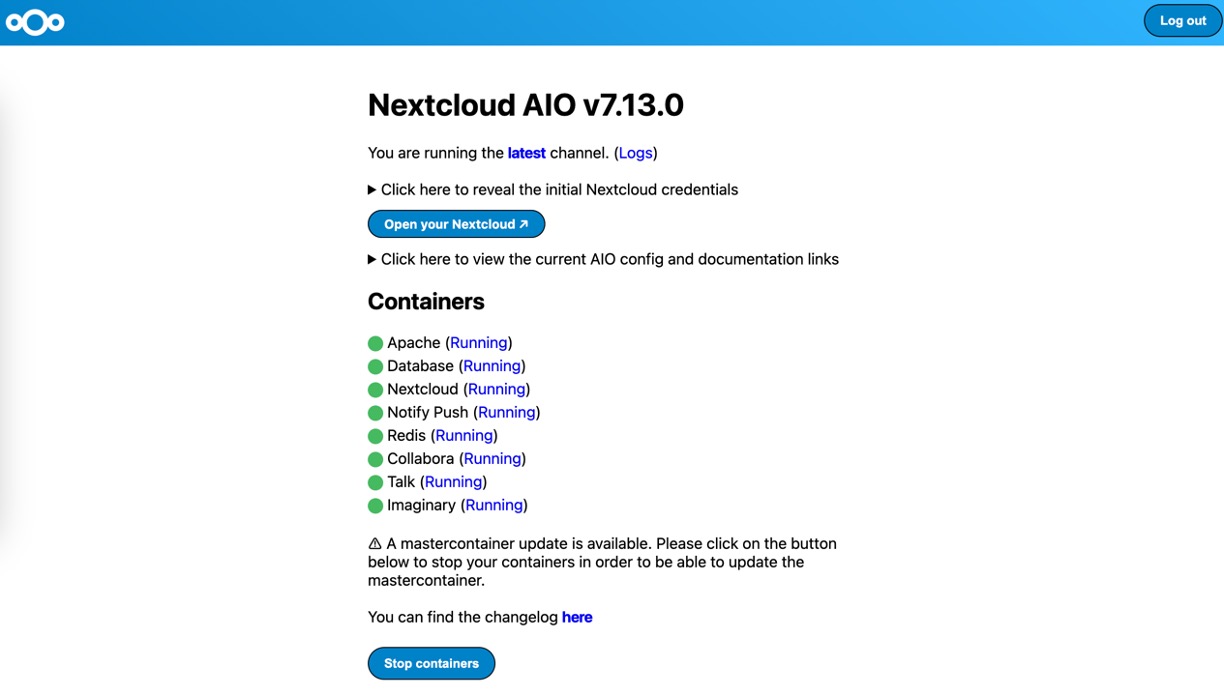
This screen indicates that the setup is complete.
For the first login, input the domain you previously prepared, and the system will download the necessary Docker images and restart automatically. After the startup is complete, you can begin using Nextcloud and it’s recommended to change the default password and check other security settings as soon as possible.
Conclusion
After completing the steps above, input your domain in the URL bar, and you’ll see a nice interface, which is your private cloud.
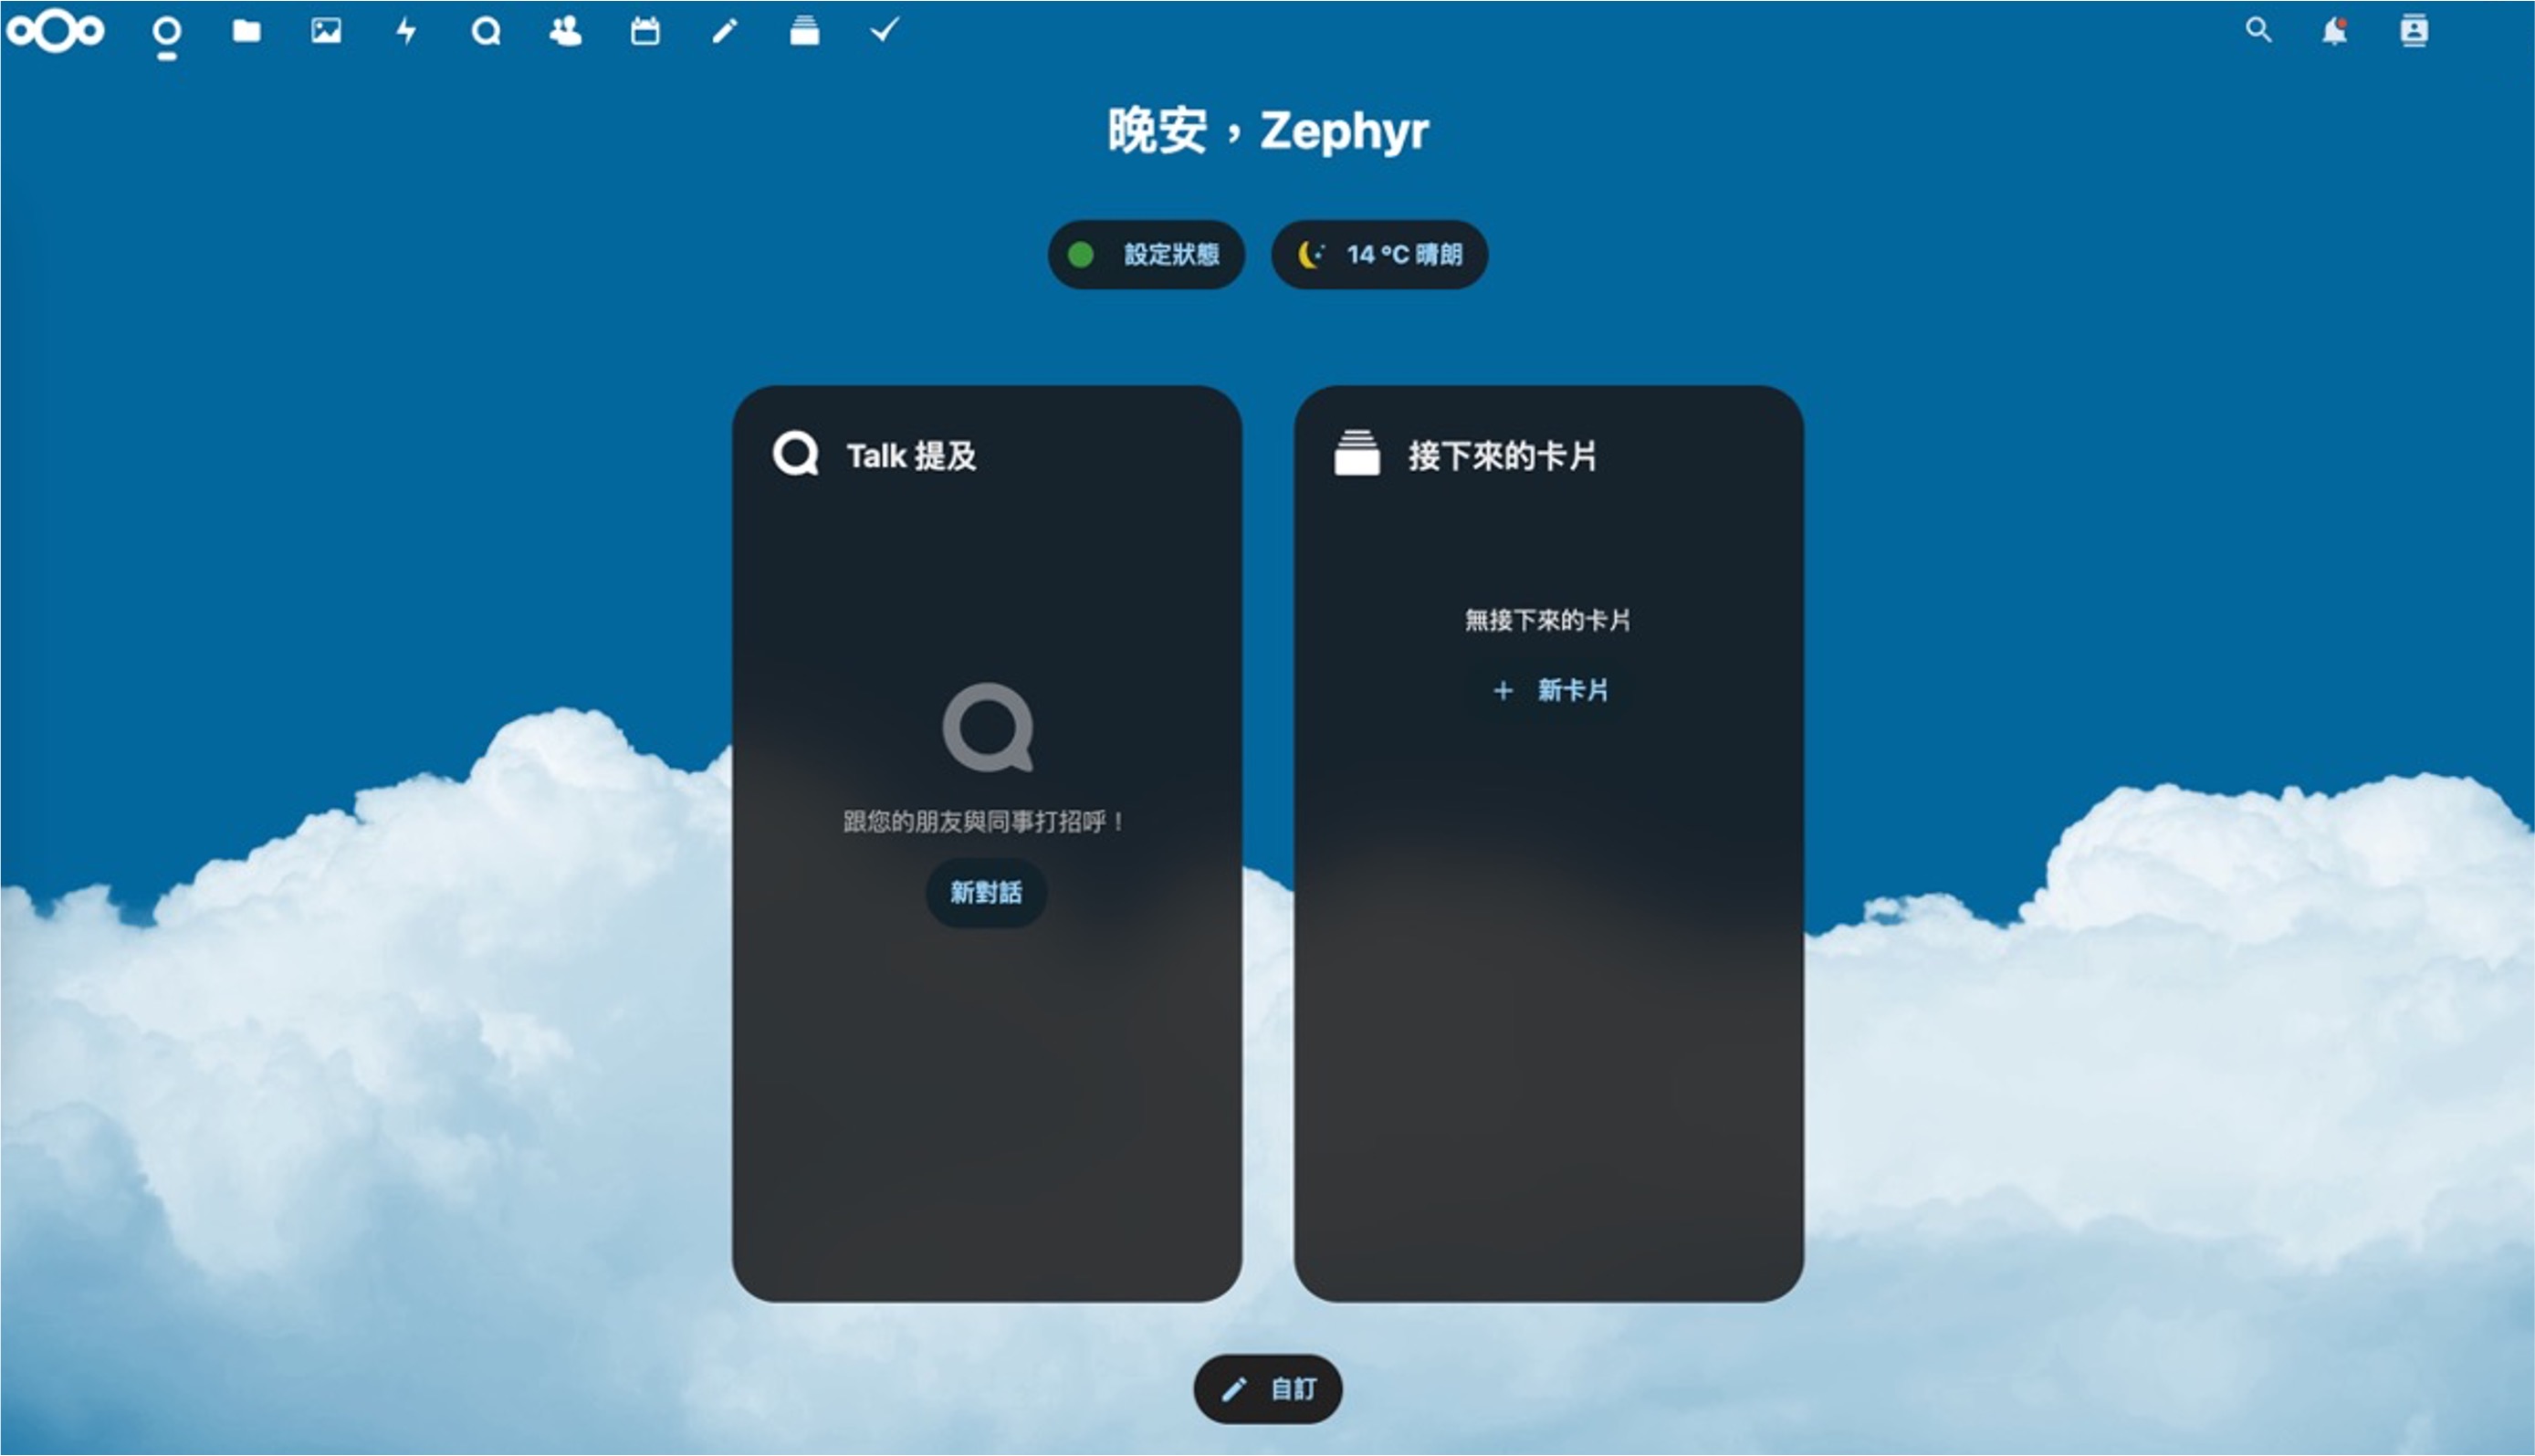
This interface has many features—you can manage your files through it, and also share them.
Additionally, you can download the Nextcloud app on your phone to manage your files directly from your device.
With Nextcloud, you no longer need to worry about Google Drive’s storage limitations.
If you have other services running on your server, you can use Nginx as a reverse proxy to forward the Nextcloud domain.
This is beyond the scope of this chapter, but we can discuss it later.
☕ Fuel my writing with a coffee
Your support keeps my AI & full-stack guides coming.
AI / Full-Stack / Custom — All In
From idea to launch—efficient systems that are future-ready.
All-In Bundle
- Consulting + Dev + Deploy
- Maintenance & upgrades
🚀 Ready for your next project?
Need a tech partner or custom solution? Let's connect.