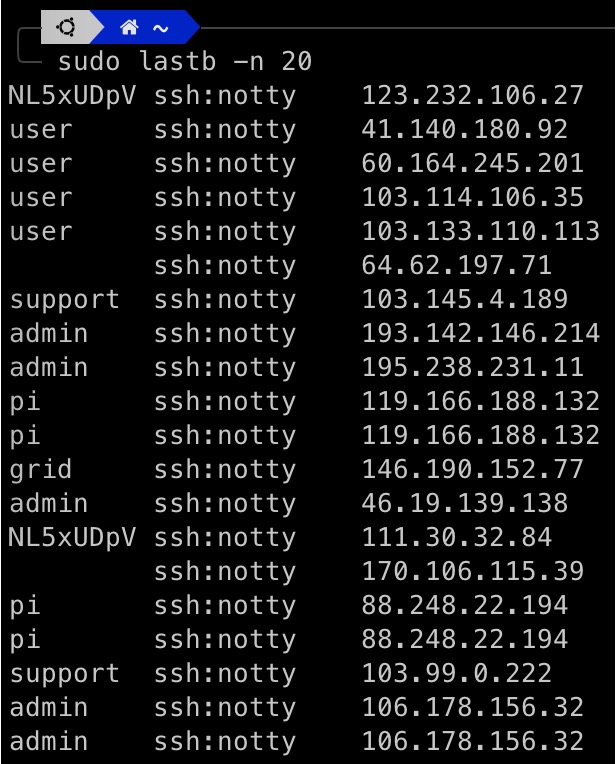
After you successfully open an external SSH channel, you’ll immediately notice a bunch of malicious connections trying to log into your machine.

A common approach is to use Fail2ban to protect our host. This is a software that prevents servers from brute-force attacks.
When the system detects suspicious activity (e.g., repeated failed login attempts), Fail2ban automatically modifies firewall rules to block the attacker's IP address.
1. Install Fail2ban
On most Linux distributions, you can use a package manager to install Fail2ban.
Since my host is Ubuntu, I’ll use apt to install it:
sudo apt install fail2ban
2. Configuration
The configuration file is located at /etc/fail2ban/jail.conf.
But wait!
Instead of directly modifying this file, copy it to jail.local and modify that:
sudo cp /etc/fail2ban/jail.conf /etc/fail2ban/jail.local
Edit jail.local:
sudo vim /etc/fail2ban/jail.local
This file contains several important configuration parameters with the following corresponding functions:
- ignoreip: IP addresses or ranges to ignore, e.g., 127.0.0.1/8
- bantime: Block time in seconds (default is 600 seconds)
- findtime: Time period to observe how many failed attempts (default is 600 seconds)
- maxretry: Maximum number of allowed failed attempts within the
findtimeperiod.
3. Start and Monitor
Start Fail2ban:
sudo service fail2ban start
Check the status of Fail2ban:
sudo fail2ban-client status
4. Add Custom Rules
If you want to set specific rules for a particular service, you can add or modify the corresponding section in jail.local, such as for SSH:
[sshd]
enabled = true
port = ssh
filter = sshd
logpath = /var/log/auth.log
maxretry = 3
5. Test
After making changes to the configuration, restart Fail2ban to apply the changes:
sudo service fail2ban restart
Then, test from another machine or use a different IP to attempt multiple failed logins and see if it gets blocked.
6. View
Make sure to regularly check the log files and update rules for optimal protection.
sudo fail2ban-client status sshd
7. Unban
If you were blocked during testing, remember to unban your test IP:
sudo fail2ban-client set sshd unbanip <IP_ADDRESS>
Conclusion
The entire process is a bit tedious, but not complicated.
I hope this article helps you successfully complete the relevant configuration. Your support keeps my AI & full-stack guides coming. From idea to launch—efficient systems that are future-ready. Need a tech partner or custom solution? Let's connect.☕ Fuel my writing with a coffee
AI / Full-Stack / Custom — All In
All-In Bundle
🚀 Ready for your next project?

