進階用法
除了基本的使用方法外,我們還提供了一些進階的設定,讓你可以更靈活地控制輸出的文字圖像。在這裡我們引入隨機性的設定,這些特性主要被用來訓練模型。
若想要使用隨機性的功能,請使用 RandomWordCanvas 類別。
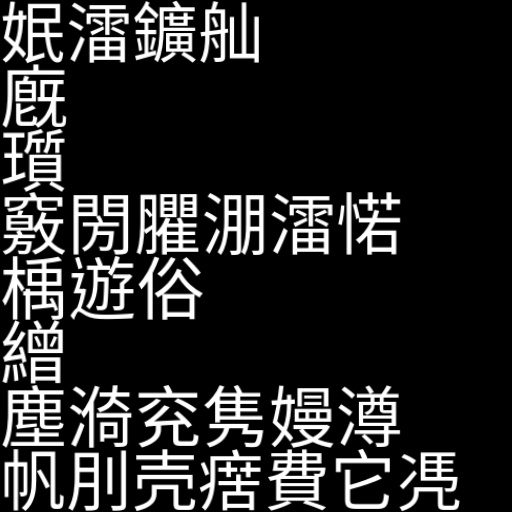
隨機字型
使用 random_font 參數啟用隨機字型的功能。當 random_font 設定為 True 時,參數 font_bank 才會生效,同時,font_path 會被忽略。
你應該要指定 font_bank 參數到你的字型庫中,因為預設值為套件底下的目錄 fonts,為了範例說明,我們預先在 fonts 目錄下放了兩個字型,因此如果你沒有修改 font_bank 的話,就只會隨機選擇這兩個字型。
import numpy as np
from wordcanvas import RandomWordCanvas

gen = RandomWordCanvas(
    random_font=True,
    output_size=(64, 512),
    # font_bank="path/to/your/font/bank"
)

imgs = []
for _ in range(8):
    text = 'Hello, World!'
    img = gen(text)
    imgs.append(img)

# 結合所有圖片一起輸出
img = np.concatenate(imgs, axis=0)

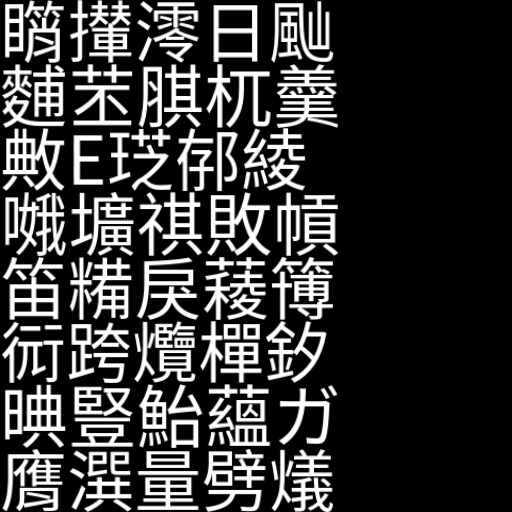
隨機文字內容
你可能不知道要生成什麼文字,這時候可以使用 random_text 參數。
當 random_text 設定為 True 時,原本輸入的 text 會被忽略。
import numpy as np
from wordcanvas import RandomWordCanvas

gen = RandomWordCanvas(
    random_text=True,
    output_size=(64, 512),
)

imgs = []
for _ in range(8):
    text = 'Hello!World!' # 這個輸入會被忽略
    img = gen(text)
    imgs.append(img)

# 結合所有圖片一起輸出
img = np.concatenate(imgs, axis=0)
指定字串長度
當啟用 random_text 時,你可以使用:
min_random_text_length: 最小文字長度max_random_text_length: 最大文字長度
這兩個參數來指定文字的長度範圍。
import numpy as np
from wordcanvas import RandomWordCanvas

# 固定生成 5 個字元的文字
gen = RandomWordCanvas(
    random_text=True,
    min_random_text_length=5,
    max_random_text_length=5,
    output_size=(64, 512),
)

imgs = []
for _ in range(8):
    img = gen()
    imgs.append(img)

# 結合所有圖片一起輸出
img = np.concatenate(imgs, axis=0)
隨機背景顏色
使用 random_background_color 參數啟用隨機背景顏色的功能。
import numpy as np
from wordcanvas import RandomWordCanvas

gen = RandomWordCanvas(
    random_background_color=True,
    output_size=(64, 512),
)

imgs = []
for _ in range(8):
    text = 'Hello, World!'
    img = gen(text)
    imgs.append(img)

# 結合所有圖片一起輸出
img = np.concatenate(imgs, axis=0)

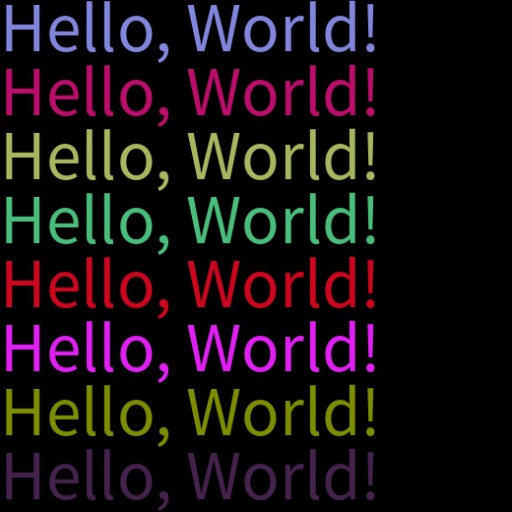
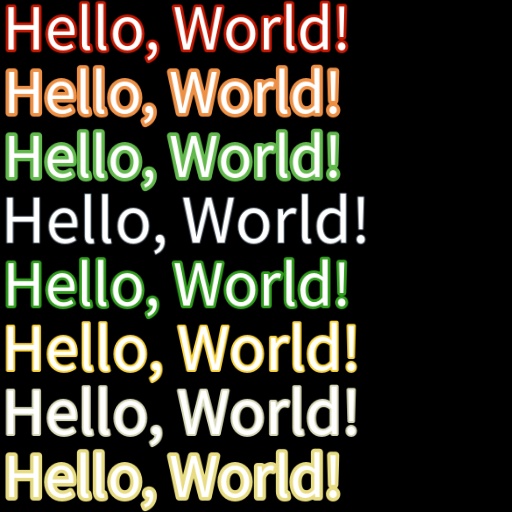
隨機文字顏色
使用 random_text_color 參數啟用隨機文字顏色的功能。
import numpy as np
from wordcanvas import RandomWordCanvas

gen = RandomWordCanvas(
    random_text_color=True,
    output_size=(64, 512),
)

imgs = []
for _ in range(8):
    text = 'Hello, World!'
    img = gen(text)
    imgs.append(img)

# 結合所有圖片一起輸出
img = np.concatenate(imgs, axis=0)
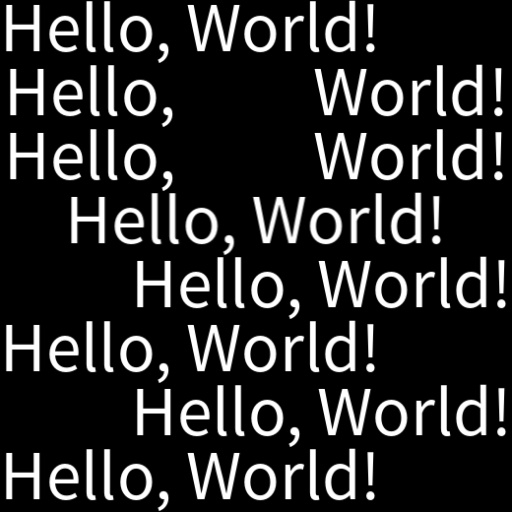
隨機文字對齊
使用 random_align_mode 參數啟用隨機文字對齊的功能。
import numpy as np
from wordcanvas import RandomWordCanvas

gen = RandomWordCanvas(
    random_align_mode=True,
    output_size=(64, 512),
)

imgs = []
for _ in range(8):
    text = 'Hello, World!'
    img = gen(text)
    imgs.append(img)

# 結合所有圖片一起輸出
img = np.concatenate(imgs, axis=0)
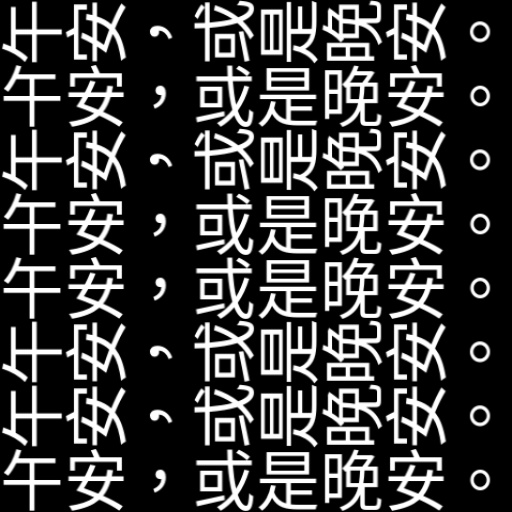
隨機文字方向
使用 random_direction 參數啟用隨機文字方向的功能。
建議將這個參數與 output_direction 一起使用,方便輸出影像。
import numpy as np
from wordcanvas import RandomWordCanvas, OutputDirection

gen = RandomWordCanvas(
    random_direction=True,
    output_direction=OutputDirection.Horizontal,
    output_size=(64, 512),
)

imgs = []
for _ in range(8):
    text = '午安,或是晚安。'
    img = gen(text)
    imgs.append(img)

# 結合所有圖片一起輸出
img = np.concatenate(imgs, axis=0)
隨機文字外框
使用 random_stroke_width 參數啟用隨機文字外框的功能。同時可以搭配 min_random_stroke_width 和 max_random_stroke_width 來指定外框的寬度範圍。
外框顏色可以透過 stroke_fill 進行指定,或是使用 random_stroke_fill 啟用隨機外框顏色。
import numpy as np
from wordcanvas import RandomWordCanvas

gen = RandomWordCanvas(
    random_stroke_width=True,  # 啟用隨機外框寬度
    random_stroke_fill=True,   # 啟用隨機外框顏色
    min_random_stroke_width=1, # 最小外框寬度
    max_random_stroke_width=5, # 最大外框寬度
    output_size=(64, 512),
)

imgs = []
for _ in range(8):
    text = 'Hello, World!'
    img = gen(text)
    imgs.append(img)

# 結合所有圖片一起輸出
img = np.concatenate(imgs, axis=0)
使用 random_stroke_width 會收到警告:
Using `random_stroke_width` may cause an OSError: array allocation size too large error with certain text.
This is a known issue with the `Pillow` library (see https://github.com/python-pillow/Pillow/issues/7287) and cannot be resolved directly.
因為我們在測試中發現,在 Pillow 內使用 stroke_width 會不定期出現 OSError 的錯誤。這是 Pillow 的一個已知問題,我們把相關的 issue 連結放在了警告中,你可以點擊查看。
隨機多行文字間距
使用 random_spacing 參數啟用隨機多行文字間距的功能。可以搭配 min_random_spacing 和 max_random_spacing 來指定間距的範圍。
import numpy as np
from wordcanvas import RandomWordCanvas, AlignMode

gen = RandomWordCanvas(
    random_spacing=True,
    min_random_spacing=10,
    max_random_spacing=100,
    align_mode=AlignMode.Center,
    output_size=(128, 512),
)

imgs = []
for _ in range(2):
    img = gen('你好!\nHello, World!')
    imgs.append(img)

# 結合所有圖片一起輸出
img = np.concatenate(imgs, axis=1)

字型權重
由於每個字型所支援的文字數量不一致,因此在訓練模型時,我們可能會遇到字型權重不均的問題。為了緩解這個問題,可以使用 random_font_weight 參數。
簡單來說,由於每個字型被選擇的機率是一樣的,但某些文字只有少數的字型才能支援,因此你會發現有些文字幾乎不會被訓練到。
from wordcanvas import RandomWordCanvas

gen = RandomWordCanvas(
    random_font=True,
    random_font_weight=True,
    output_size=(64, 512),
)
當啟用這個參數時,RandomWordCanvas 會根據字型支援的文字數量來調整字型的選擇機率,當字型支援的文字愈少,那被選中的機率就會愈低,以達到均勻分配的效果。
阻擋名單
我們在使用字型時,發現有些字型表裡不一。
舉例來說,從字型檔案中可以讀取到該字型所支援的文字列表,但是在實際使用時,卻發現有些文字卻無法正確渲染。對此我們感到無奈,所以特別開發了一個阻擋名單的功能,讓你可以將這些字型排除在外。
請使用參數 block_font_list 來設定阻擋名單:
import numpy as np
from wordcanvas import WordCanvas, RandomWordCanvas

gen = WordCanvas(
    block_font_list=['AABB']
)

gen_random = RandomWordCanvas(
    block_font_list=['AABB'],
)
設定後,程式會自動過濾掉帶有你所設定的 *AABB*.(ttf|otf) 的字型,不會被選中。
儀表板
我們再次回到儀表板,RandomWordCanvas 的資訊更為豐富:
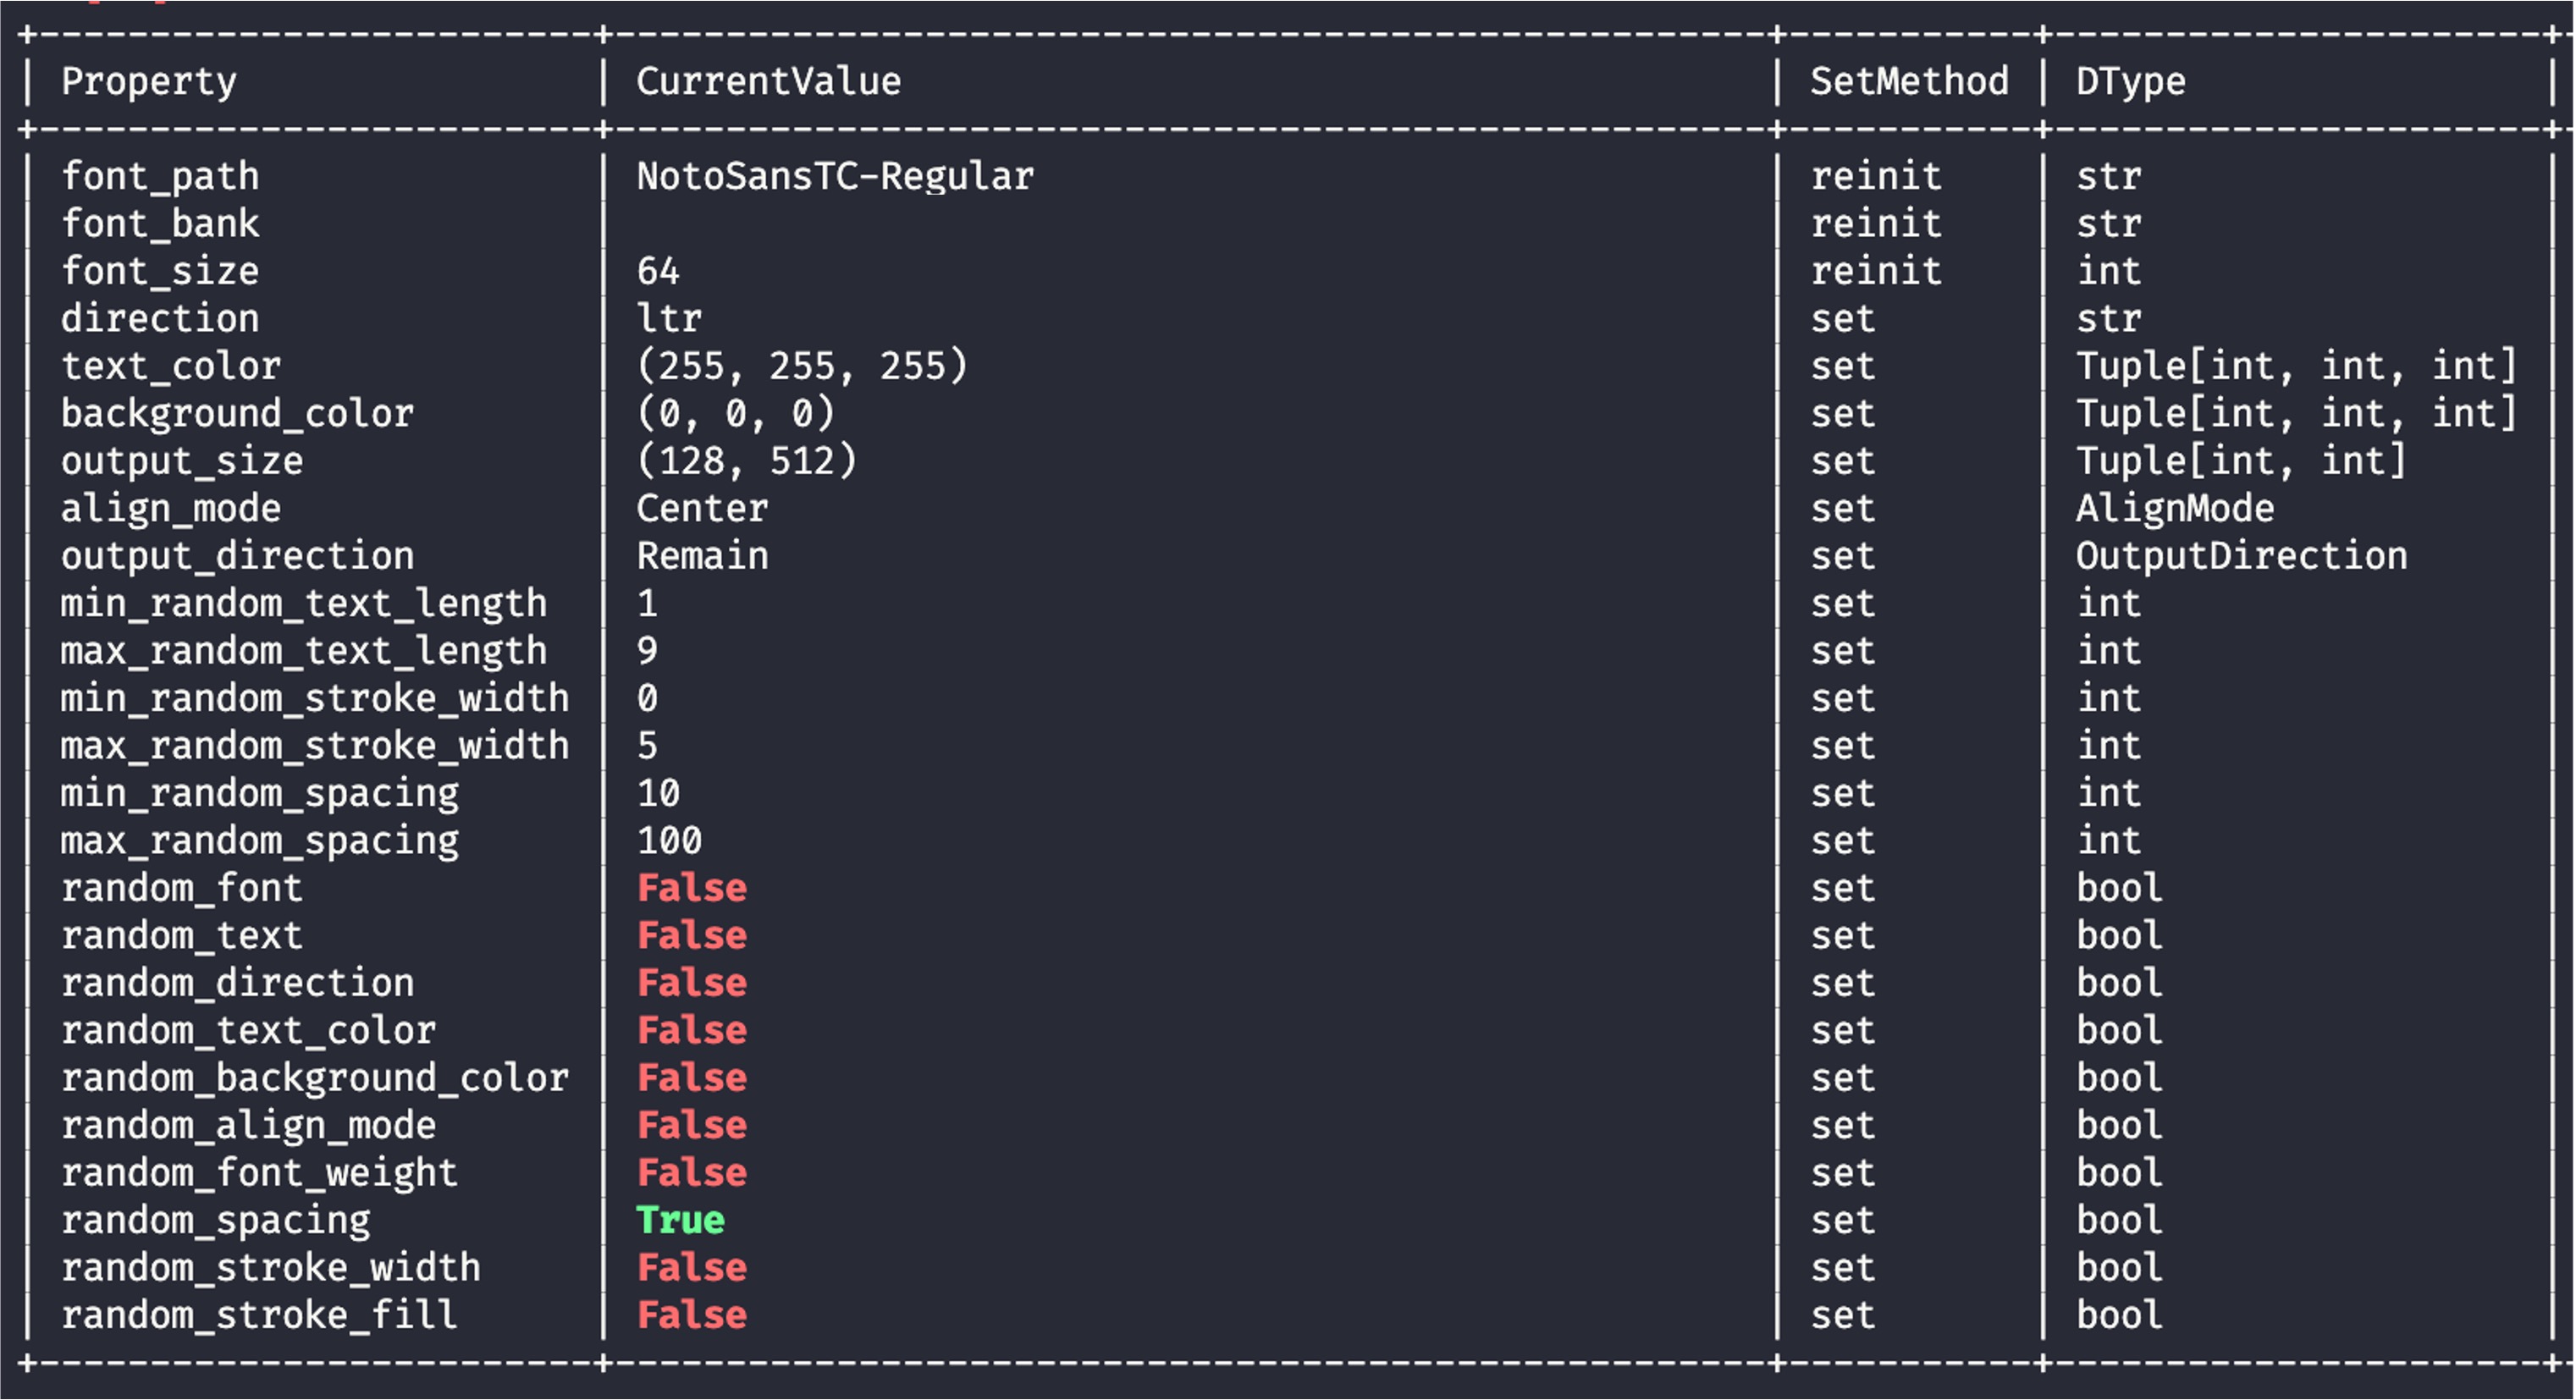
在隨機性的相關參數啟用時,True 的參數會被標示為綠色,False 的參數會被標示為紅色。
我們希望可以透過這個設計,來讓你快速地確認相關設定。
小結
在開發工具的過程中,我們的目標是創建一個能夠靈活地生成各種文字圖像的工具,特別是為了深度學習模型的訓練。
隨機性的引入旨在模擬現實世界中的各種情況,這對於提高模型的適應性和泛化能力有極大的幫助,希望你會喜歡這些功能。